


Collards
Brassica oleracea var acephala
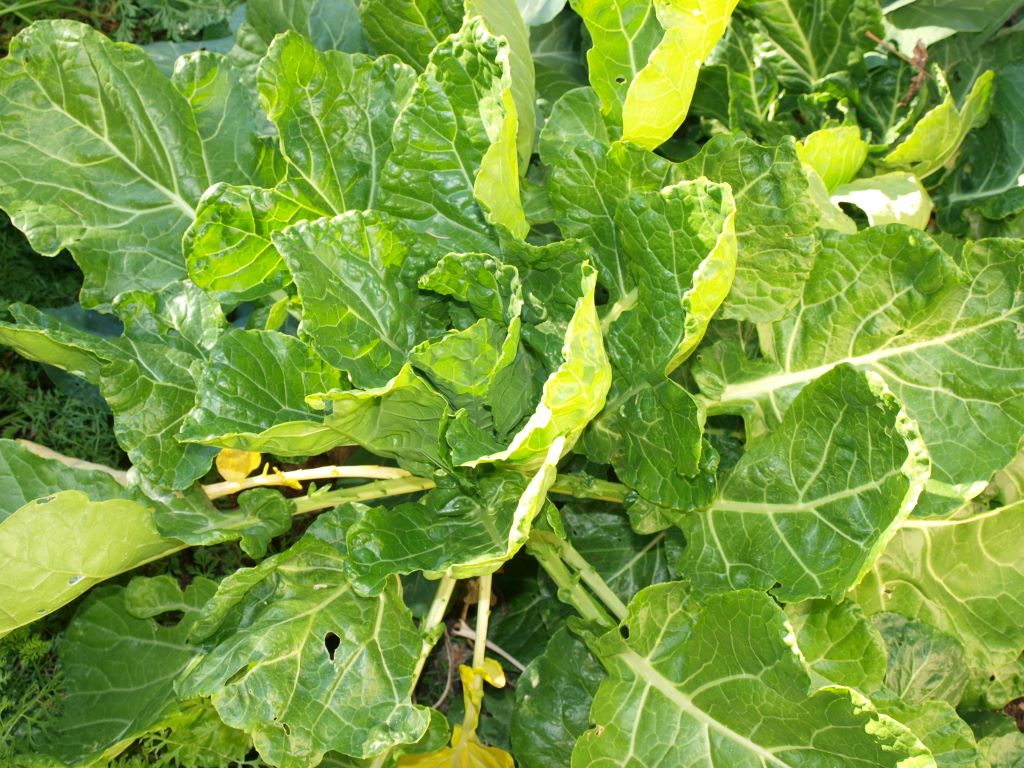
Introduction: Collards are the same sub-species as Scotch kale, but differ in being more tolerant of hot weather (it is often a bigger plant too, with broader, fleshier leaves). Their heat tolerance has made them an important crop in warmer parts of the world, notably in Africa, Brazil and around the Mediterranean. In North America they are most widely grown in the southeastern States, where they are grown year round (but not usually harvested much during the summer months).
Nutritional content: Collards are / is a highly nutritious plant, being rich in vitamins A, C and K, chlorophyll and many important phytochemicals (including isothiocyanates, sulfuraphane, lutein and zeaxanthin). It is said to contain even more antioxidants than other Brassicas (which are all a good source of them).
Climate: Collards tolerates hot weather very well, but the leaves taste better in cool weather and it really comes into its own in the depth of winter, when other crops die off. It doesn’t just tolerate cold weather, its flavor is actually improved by it (they become sweeter and more tender).
Ease of growing: This isn’t far removed from a wild plant and shows it by being pretty easy to grow. It is even easier in cold weather, when it leaves most of its potential pests and diseases behind.
Soil
pH 6.0 – 7.5
Collards are more tolerant of poor soil than other Brassicas, but the most palatable leaves are produced by rapid uninterrupted growth. For this the soil must be rich, well-drained and moisture retentive with lots of organic matter. Of course with a winter crop, drainage is usually more of a concern than water retention. If the soil is too wet in winter the roots may rot.
Soil preparation: These plants like organic matter, so amend the soil by digging in 2˝ of compost or aged manure. It also likes a neutral pH, so add lime to raise the pH if necessary. Its nutritional requirements are similar to those of cabbage, in that it needs a significant amount of phosphorus and potassium, but not a lot of nitrogen. If your soil isn’t very fertile you may also want to add some fertilizer mix.
| About Collards Seed facts Germ temp: 40 (45 – 95) 95°F Germination time: 4 – 9 days 15 days / 50°F 9 days / 59°F 6 days / 68°F 5 days / 77°F * Optimum 4 days / 86°F Seed viability: 4 – 6 years Germination percentage: 75+ Weeks to grow transplants 5 – 6 Planning facts Hardiness: Very hardy Growing temp: 40 (60 – 65) 75°F Plants per person: 10 Plants per sq ft: to 1 Height: 18 – 36˝ Spread: 18 – 36˝ Planting: Spring Start indoors: On last frost Plant out: 4 wks after last frost Direct sow: 4 weeks after last frost Fall Direct sow: 60 – 90 days before first frost Harvest facts Days to harvest: 50 – 70 days from transplant 80 – 100 days from seed Harvest period: 16 – 26 weeks Yield per plant: 1 – 2 lb (I am being very conservative) |
Planning
Where: A winter collard crop will be growing in the coldest part of the year, so should be planted in the warmest, sunniest, most sheltered part of the garden.
This is one of the most shade tolerant garden vegetables, though it won’t be quite as productive as when in full sun. In warmer weather it is usually happier in light shade. If this is from a deciduous tree, it will mostly disappear in winter, which is ideal.
Crop rotation: Collards and should not be planted where any other Brassica has grown in the past 3 years.
When
Spring: Collards can be planted in spring for harvesting right through the summer, but tastes better in cool weather. Having said that, it is probably still better than most greens you can buy at the store.
Fall / winter: Collards is a traditional winter crop, planted in mid-summer to late summer. The plants should be fairly big by the time of the first frost, so they are vigorous enough to keep growing. In mild climates it will continue to grow all winter without disruption and can be harvested continually for months (it will also be in peak condition in the cool weather).
You can plant your autumn collards as an intercrop between an existing summer crop. It will gradually take over the space as the weather gets cooler and the summer crop fades.
If you want to use collards as a staple winter crop you should probably grow quite a lot of it. It grows slowly in winter, so you want to have quite a few plants to harvest from (so you don’t stress any one plant too much).
Planting
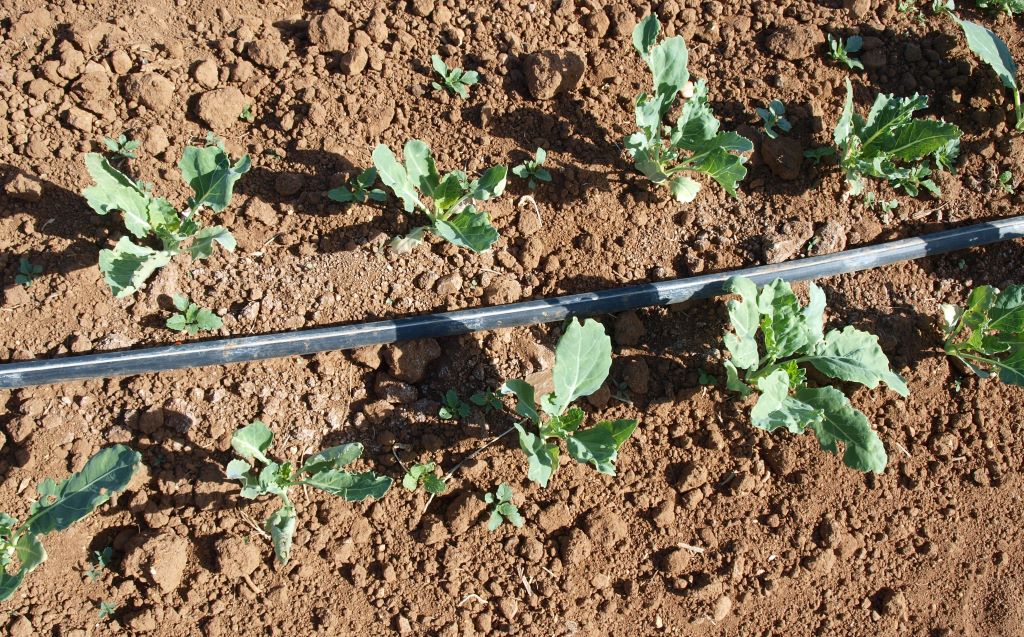
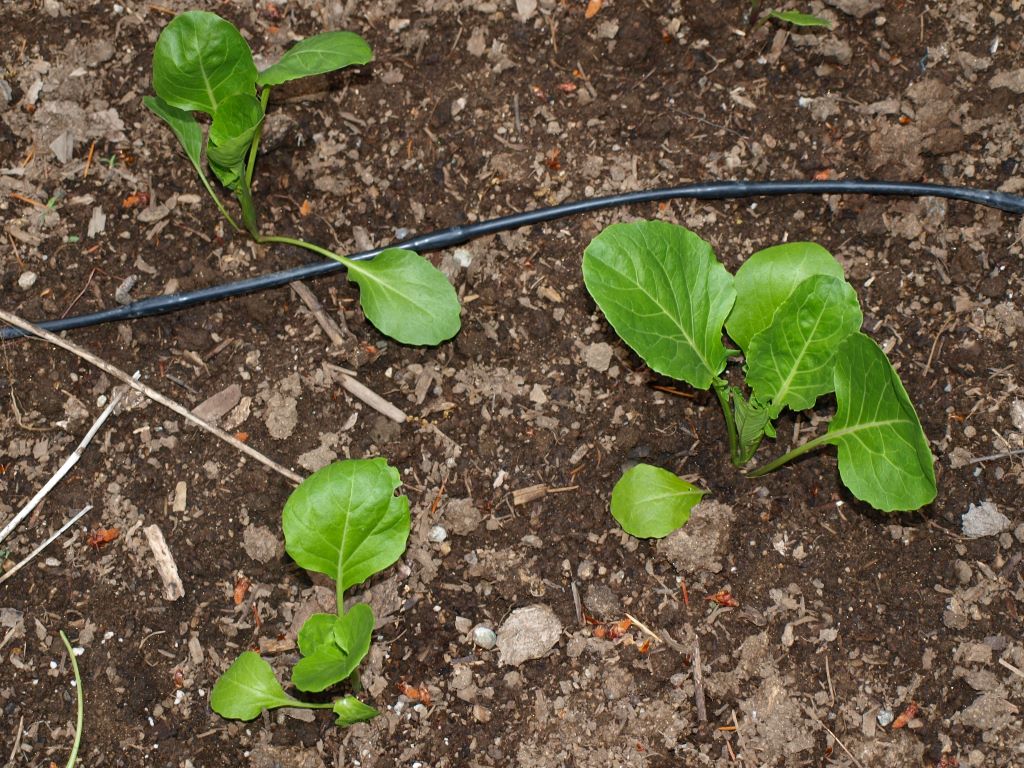
Direct sowing: The easiest way to grow collards is to sow it directly into the garden. The seed germinates easily and grows quickly, even in fairly cool soil. Plant the seeds ¼ – ½˝ deep and 2˝ apart. Start harvest thinning when all the seedlings have emerged and are of sufficient size. As the planting fills in, it is gradually harvest thinned, first to 6˝, then to 12˝ and then to a final spacing of 15 – 18˝. The fully grown plants are very tolerant of cold weather, smaller ones less so.
Transplants
Starting inside: Collards can be started indoors to get an earlier crop in spring. They will germinate and grow much faster in warmer conditions, enabling you to plant out a thriving seedling, rather than a seed. Beware though, that if you are too successful and grow big healthy transplants, exposure to cold temperatures will probably cause them to bolt. This occurs because low temperatures cause this biennial to sense that it has gone through a winter, which means it is time to flower (this is called vernalization). To avoid this the stems should be no thicker than ⅛˝ when transplanted.
Transplants may also be used where insects or other pests are a problem.
Collards transplant easily so can be started in flats, as well as cell packs and soil blocks. Plant the seed 1˝ apart in a flat and when the seedlings are big enough prick out into another flat, leaving 2˝ between the plants. The plants are ready to go outside when they have 3 – 5 true leaves, a stem diameter of about ⅛˝ and are 3 – 5˝ tall.
Planting out: Transplant the seedlings slightly deeper than they grew in the flats, up to the depth of their first true leaves. Water well after planting (of course).
Starting transplants outside: In terms of bed space, a collard seed takes up as much space as an 8 week old transplant, so direct sowing isn’t very space efficient. You can use bed space more efficiently by sowing your fall crop in an outdoor nursery bed (this only works in warm weather of course). Leave them there until they are of transplant size and then plant them out at their full spacing in early fall.
Spacing: The plants can get quite big, so give them plenty of room:
Beds:
12˝ apart in excellent soil
15˝ apart in good soil
18˝ apart in poor soil
Rows: If you want to plant in rows, space them 18 – 24˝ apart, with 12˝ between the plants.
Care
Weeds: Collards are pretty independent once established, so you only really need worry about weeds while they are young.
Watering: The large leaves and can lose a lot of water in warm weather (another reason not to grow it then). It is actually moderately drought tolerant, but for the best quality (texture and flavor) you must keep it well supplied with water.
Fertilization: If the soil isn’t very fertile, feed the plants with compost tea or liquid kelp. Start feeding them as soon as they have recovered from transplanting and every month thereafter. This is especially important if you are going to be harvesting for weeks on end.
Mulching: Use a mulch in summer to keep down weeds, keep the soil cool and conserve soil moisture. In winter a mulch can help to protect the roots by moderating soil temperature and preventing frost heaving.
Problems
Pests: Collards are less vulnerable to pests than other Brassicas (even to clubroot), but still have their share, especially in warm weather (aphids are the commonest).
Plants of the Brassicaceae family have developed a pungent and toxic oil to protect themselves from insect predators. This is very effective in most cases, however a number of insects have not only evolved some resistance to it, but are now actually attracted by it. These are serious pests of Brassicas and can make growing them much more difficult than it should be.
Aphids: These are the ever-present pests of Brassicas. Blasting them off with a strong jet (I mean strong) of water makes a big difference. It also pays to have lots of insectory plants (Phacelia, Asteraceae. Apiaceae) around to feed the predators that prey on aphids.
Caterpillars: Several types of caterpillar live only on the various Brassicas and can strip a young plant to the midribs in a short time. It is important to keep an eye out for these, so you can deal with them before they devastate your crop.
If you have only a few plants, hand picking is the best way to go. If you have a whole field then a spray of BT (Bacillus thuringensis) is usually recommended. Parasitic wasps can kill a lot of caterpillars if given the chance, but not if you start spraying poisons. Red cabbage is not as attractive to caterpillars as the green, though it is more attractive to aphids. If they are really bad you might also go after the conspicuous white butterflies with a butterfly net.
Flea Beetles: These tiny insects are common in spring and eat small holes in the leaves of the young plants. Transplants can usually take this damage without too much problem, they will just put out new leaves, but newly germinated seedlings may be killed. If they are a big problem you could use row covers, or plant some turnip seed as a trap crop.
Cabbage Root Fly: This is probably the worst Brassica pest. It lays its eggs at the base of the plant and the newly hatched larvae work their way down to the roots and eat them. If they are numerous enough they pretty much destroy the roots and kill the plant. The first warning sign is when a plant wilts in sunny weather. If this occurs, examine the root for the small white maggots, which look like small grains of rice. If you find affected plants, remove and kill the maggots to stop them maturing and reproducing (or just to make you feel better).
The easiest way to deal with these pests is to use row covers, which prevents the fly getting near enough to the plant to lay eggs.
Another effective control is to use 6˝ squares (or disks) of foam carpet backing. You cut a slit to the center of the square and put them around the stem. These work very well, because the foam can expand as the stem enlarges. These disks not only make it harder for the fly larvae to get into the root, but also provide refuges for the predatory beetles that eat the eggs and larvae. These disks have achieved 70% control, which is as good as most pesticides.
You don’t have to totally eliminate all of these maggots. Some damage is tolerable, so long as it doesn’t seriously affect the crop.
Other pests: Cutworms, harlequin bugs, thrips, root knot nematodes, slugs and snails.
Birds: These will sometimes eat seedlings, especially in spring. If this is a problem you may have to net the plants (row covers used to prevent other pests will also work). In my garden quail are a problem for Brassicas year round, but particularly in winter. They love to eat the
leaves and will tear them to shreds (sometimes they strip whole plants). They are now so bad that I have to net the plants.
Diseases: Alternaria blight, black leg, black rot, downy mildew, Fusarium wilt and wirestem.
Clubroot: (Plasmodiophora brassicae): This serious root disease is a big problem in some areas. It causes the roots to swell up like clubs and can kill the plant. Clubroot likes acid soil, so the closer your soil is to neutral the better. If this disease gets into your soil it can stay there for years, even without any Brassicas to infect.
Nutrient deficiency:
Boron deficiency: Brassicas generally are quite susceptible to boron deficiency, which manifests itself as hollow stems.
Harvesting
When: Collards produce an abundance of foliage right through the growing season, but it is at its best during cold weather. This is because cold weather stimulates the conversion of starches in the leaves into sugars (a similar thing happens in Jerusalem artichokes and parsnips). A few nights of freezing temperatures are enough to make this happen. The cold also makes the leaves more tender.
You can gather kale leaves for as long as they are produced, sometimes right through the winter. Even the frozen leaves can be eaten and are actually very good.
When the plants bolt in spring, the flower buds can (and should) be gathered and used like broccoli. They are a nutritious and tasty treat, that is not to be missed. If they are infested with aphids, blast them off with a jet of water.
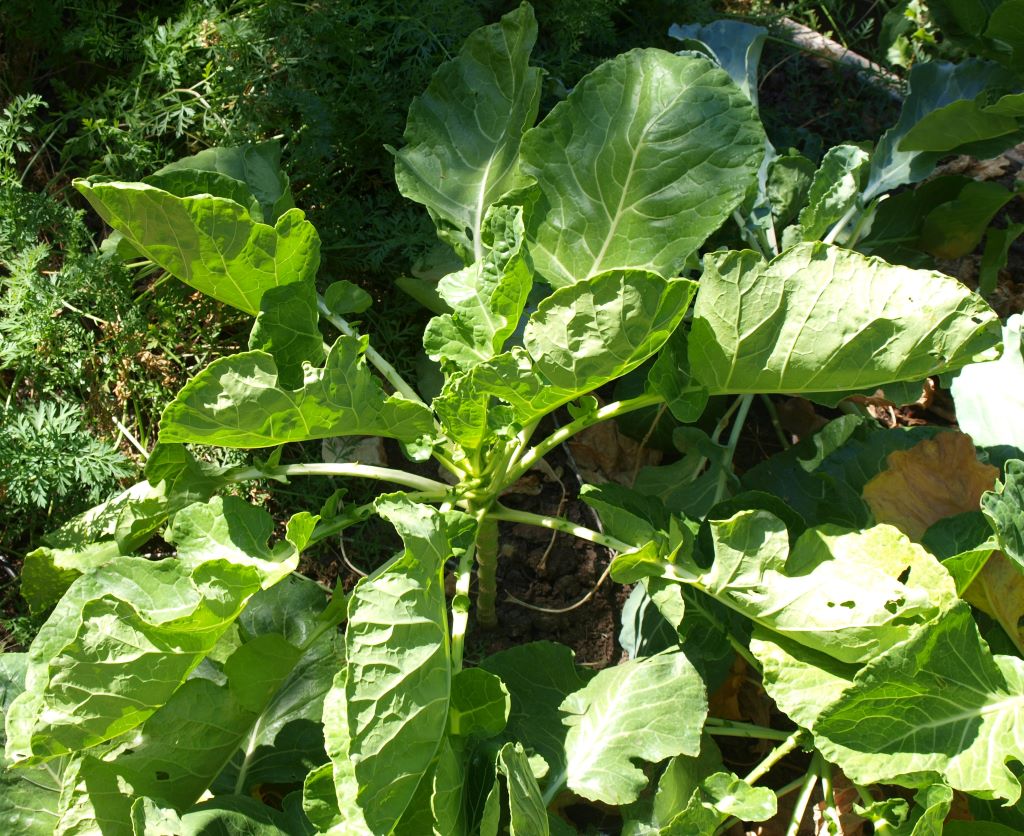
How: For a longer and bigger harvest it is best to gather single leaves as they get large enough. Take them from the bottom of the plants and leave the growing heart alone.
You may be able to stimulate an old plant to put out tender new growth, by stripping off all of its leaves.
Seed saving: Collard is a biennial and takes two years to produce seed. Plants over-wintered in the ground will flower the following spring. Don’t save seed from plants that flower in their first year, as you don’t want to raise an annual strain that bolts quickly.
Collard will cross-pollinate with any other Brassica crop (broccoli, Brussels sprout, cabbage, collards), so you have to ensure that only one type (and variety) flowers at once. The alternative is to isolate them, either by distance (1000 yards for different varieties, 1500 yards for different crops), or by caging them (don’t forget they need insects for pollination).
Cabbage is usually self-incompatible and must be cross-pollinated by insects. This means there must be a number of plants flowering at the same time. Normally you should save the seed from at least 5 plants to maintain some genetic diversity.
A large plant may produce as much as a half-pound of seed. This can get quite heavy and the stem may need support if it is not to break under its own weight. This is far more seed than you will ever need for planting. You can sprout most of it like alfalfa, or use it to grow micro-greens.
The seed pods should be gathered when the older bottom pods first start to split open. Watch them carefully as they shatter easily when they are fully ripe. Cut the seedpod bearing stems and dry them in a warm place (I put small quantities in a paper grocery bag, so I don’t lose any seeds). The seeds are fairly big and are easily handled and cleaned. Of course it is essential that they are thoroughly dry before storage.
Unusual growing ideas:
Wild garden: This is quite an independent plant and can do well in the wild or forest garden.
Container growing: Collard can do well in containers, so long as it has enough room, good soil and plenty of water.
Varieties
There aren’t a huge number of varieties, these are some of the most commonly available:
Georgia – Tender blue/green leaves (65 days)
Vates – Dark Green leaves (70 – 80 days)
Champion – High yielding, slow to bolt (70 days).
Green Glaze – Sometimes called greasy collards, it is an old heirloom (1820) with bright green leaves. (80 days).
Top Bunch F1 – A fast growing hybrid, similar to Georgia (50 days).
Kitchen use: Collard greens are a classic southern dish and are traditionally eaten on new years day with black eyed peas. They are commonly prepared by tearing the leaves into shreds (discarding the thick stems) and boiling in salt water with ham hocks for anywhere from 45 minutes to 2 hours.
I’m all for tradition, but I can’t help thinking that 45 minutes cooking is a little too long. I prefer to use the more tender greens, cut off any tough stems and cook the leaves by steaming them for 5 minutes or so.
If the leaves are tough you can remove the thick fibrous midribs and just use the more tender leaf blades (fold the leaf in half and slice off the stem with one movement).
I have read that if you put summer harvested collard leaves in the fridge for a few days, their flavor will improve (I haven’t tried it though).