


Worm bins for kitchen waste
Many gardeners think of “fertilizers” as something they buy, while “waste” is something to be disposed of (via the ‘green waste’ bin.) This demonstrates how far we have all been indoctrinated by the cult of consumerism, when even an activity like gardening becomes yet another reason to buy stuff. Nature has been recycling for a long time (there is no such thing is waste in the garden) and she will show us a different way of doing things, if we allow her to guide us.
Any plant material is made up of the chemicals that plants require for growth, which means that any plant material is a potential fertilizer. The most significant source of high quality compostable material in most households is the kitchen, which produces a steady stream of food waste. This is difficult to deal with because it attracts rodents and flies and starts to rot and smell fairly quickly, but through the use of a worm bin (a process known as vermicomposting) this can be converted into almost magical plant food. This is the perfect way to deal with the small quantities of kitchen waste that are produced daily and is so clean and odor free that it is used by some apartment dwellers. It also solves the perpetual problem of backyard composting, which is rodents (most compost piles are supermarkets for rats and mice.) It’s main drawback is that it involves keeping live animals, that need special habitat and some occasional care.
The worms
Common earthworms are not used in worm bins, you need special compost worms (Eisenia foetida) (or Lumbricus rubellus) that feed on decaying vegetable matter of almost any kind (except very acidic materials such as citrus peel, or those that heat up very quickly, such as grass clippings.) These aren’t found in large numbers in the soil, but you can find them in old compost or manure piles. You can also get them from another worm bin, through the mail, or from a fishing tackle shop. I got mine out of an old, badly made, compost pile and I have maintained this same community of worms for over 18 years. Each worm can live for 4 – 5 years so I must have the great, great, great grandchildren of the original worms. I would like to be able to say that I recognize each individual worm and have a name for it, but I don’t (at least not all of them). They have had their ups and downs during that period and have suffered periods of neglect, but they are still going.
Making a worm bin
Like any other living creature, worms need a suitable habitat and you make one by creating a worm bin. The simplest type of bin is an old discarded plastic garbage can, with a series of holes punched into the bottom 4˝ of the sides for drainage. The bottom is then filled with 6˝ of sand or gravel to provide good drainage and water is added to provide humidity. A series of boards are set on top of the gravel (to keep it separate from the compost) and 3˝ of bedding goes on top of this. I like these plastic bins, because they don’t deteriorate and it’s easy to get more at the town dump (unfortunately they no longer allow you to take them, so I have to steal them). I started out with one bin, but eventually had three.
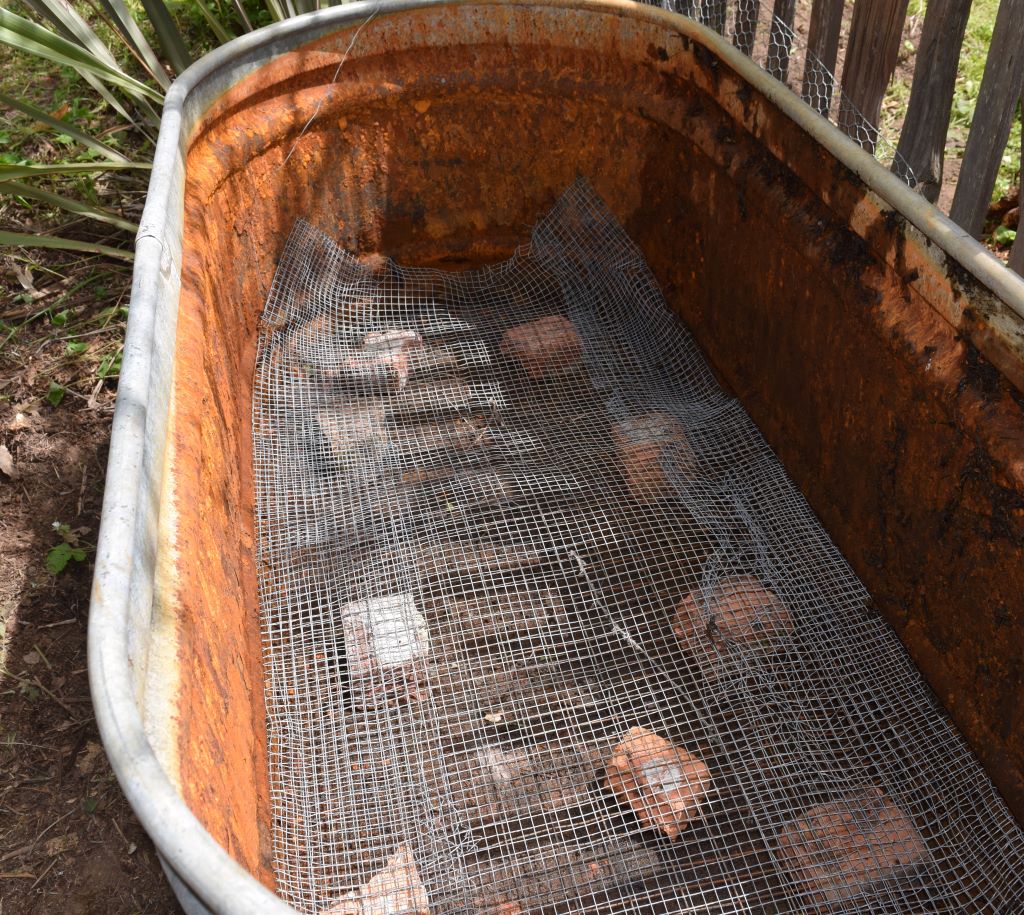
You can also make a worm box out of plywood, which is better in that you can have a wider shallower pile of material, which the worms prefer. However wood isn’t as durable as plastic of course. My most recent bin is copied from a friend in Oakland and is made from an old galvanized livestock watering trough, which works better than anything else I have seen. It is much bigger, shallower and rodents can’t chew holes to get into it (they are attracted to both the worms and the food scraps.) I also fitted a tap at the bottom so I can drain off any excess liquid, which is an amazing plant food.

Where to put it
Near the kitchen is good, so you don’t have to walk far (though it can also be deliberately placed somewhere you need to visit regularly for other purposes.) The worms will be happiest within a temperature range of 55 – 75°F, so in winter you may have to move them to a warmer location, such as a shed, basement or greenhouse. In summer you may have to make sure they have shade to keep them cool. A full bin can be pretty heavy, so it is only practical to move it when it is empty.
Bedding
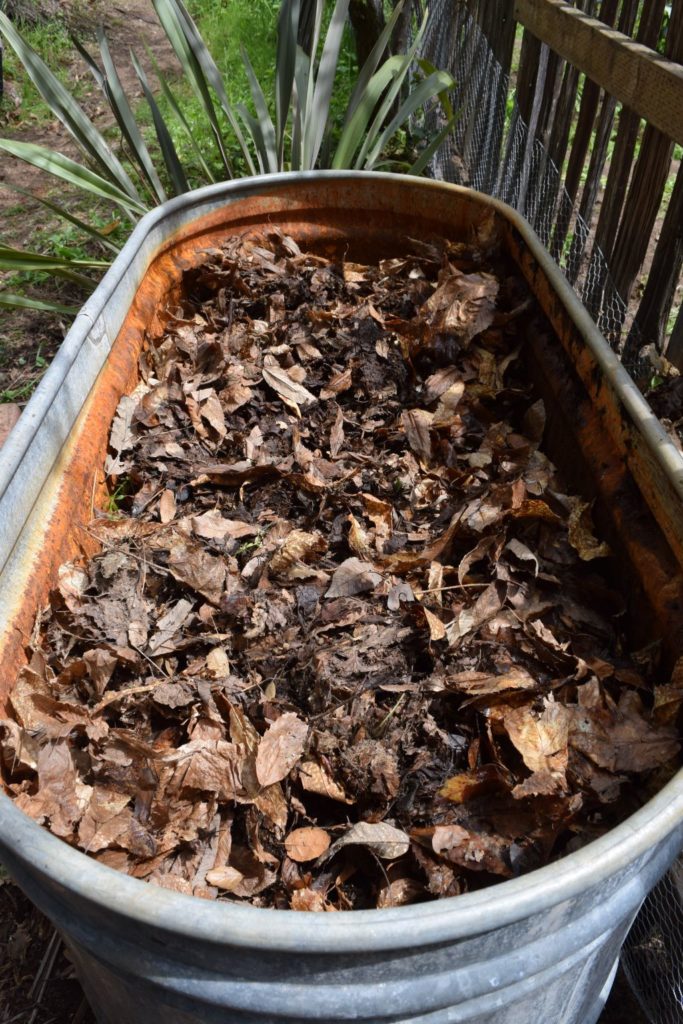
The bedding is where the worms live initially and could be mature compost, peat moss, straw, hat, aged manure, leaf litter, or leaf mold, mixed with an equal amount of torn newspaper (I have also used old shredded book manuscripts). This should be quite moist, like a wrung out sponge. Another layer of bedding is used to cover the mix of worms, food waste and maturing compost, to hold in moisture.
Using the bin
The kitchen waste is added to one side of the bin at a time and covered with bedding. The amount of waste that can be disposed of depends upon the number of worms, the temperature and the size of the food scraps (the smaller the particles the faster they will decompose.) It is best to give them too little food rather than too much (it’s always easier to add more). Large quantities of food may heat up, or start to go anaerobic and smell. You may need to add water to keep it moist and add lime if the pH is too low. If you go away for a while and the worms run out of food they may die, but they will lay eggs that will hatch later. Obviously you should try to avoid this happening.
Separating worms from compost
When the compost is fully decomposed and its origin is not recognizable , it is ready to use. To separate the worms from the compost, without harming them, you can pile it on a flat surface in the sun. The worms will move down from the top of the heap, into the cooler lower layers and you can then skim off the worm free top layer and return the worms to the bin.

Using the compost
Worm compost is very concentrated plant food and precious stuff. I most often add it to individual planting holes, or use it for top dressing underneath mulch. It can also be used to make actively aerated compost tea, for a very effective, self-sustaining waste recycling and plant feeding system.