


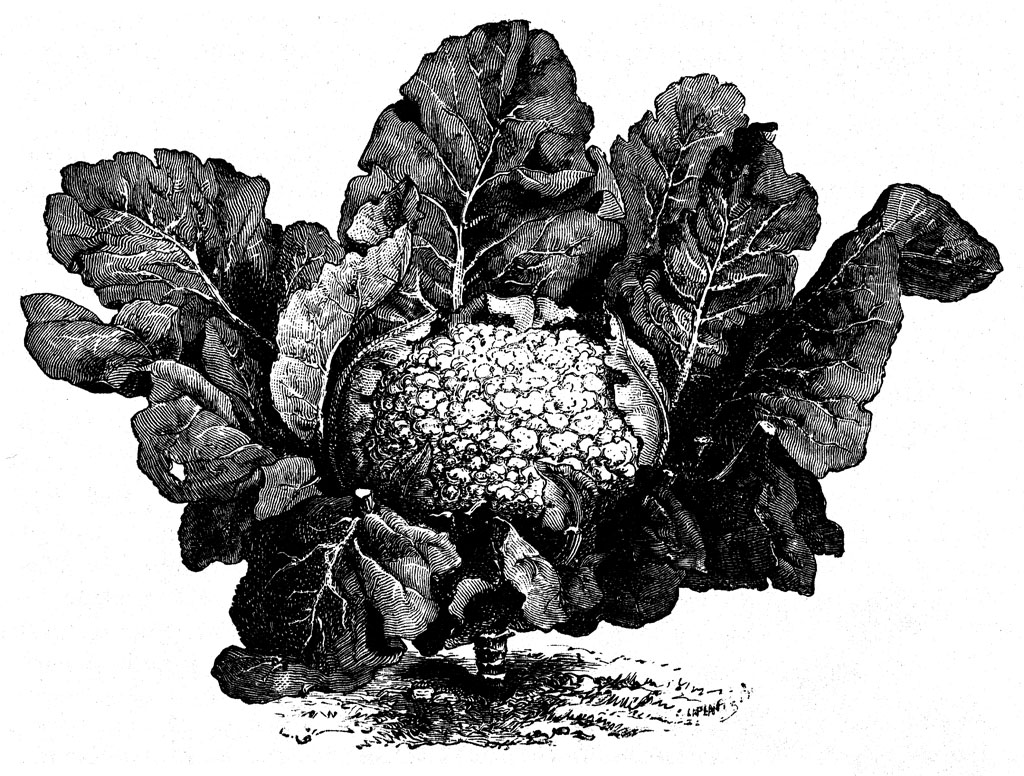
Cauliflower
Brassica oleracea botrytis group
Introduction: The cauliflower is sometimes considered to be the most refined member of the Brassica family, I don’t quite know what that means, but I do know it is the most temperamental to grow. It probably originated somewhere in the Eastern Mediterranean.
Ease of growing: The cauliflower isn’t a very forgiving crop and must have exactly the right growing conditions if it is to do well. It doesn’t like extreme heat or cold, it doesn’t like being too wet or too dry, it doesn’t like poor soil and it doesn’t like to sit indoors waiting to be planted out!
Cauliflower is even harder to grow organically, as it is vulnerable to the legion of pests that attack the cabbages. However if you give it exactly what it wants and time it right, then it isn’t that hard to grow successfully.
Crop value: Cauliflower isn’t very productive (unlike broccoli it only produces one head) or particularly nutritious, so it isn’t a very important crop (unless you like it of course, which I don’t particularly). They contain about 110 calories per pound.
Climate: More than almost any other common crop, cauliflower is sensitive to the weather and it will simply bolt if it doesn’t like it. For this reason it is important to choose a variety that is suited to the climate and time of year.
Cauliflower needs a moist and mild climate (ideally with temperatures in the 60’s) and won’t tolerate drought, heat or extreme cold. Young plants will tolerate a light frost and bigger plants are moderately cold tolerant, though the head can be damaged if it freezes. Hot weather can cause plants to bolt prematurely or become unpleasantly flavored.
Nutritional content: A good source of vitamin C and potassium. It also contains the same valuable anti-cancer phytonutrients as the other Brassicas.
| About Cauliflower Seed facts Germ temp: 45 (55 – 85) 85˚F Germ time: 4 – 10 days 10 days / 59˚F 6 days / 68˚F 5 days / 77˚F * Optimum 5 days / 86˚F Seed viability: 5 – 10 years Germination percentage: 75+ Weeks to grow transplant: 5 – 6 Planning facts Hardiness: Half hardy Growing temp: 45 (60 – 65) 75˚F Plants per person: 5 Plants per sq ft: ½ Days to harvest: 50 – 256 days 45 – 200 days from transplant Planting Spring crop: Start: 8 – 10 weeks before last frost Plant out: 4 weeks before the last frost date Direct sow 2 wks before last frost Fall crop: Start: 12 – 16 wks before first fall frost Plant out: 8 wks before the first fall frost Harvest facts Yield per plant: 1 – 2 lb Yield per sq ft: ½ – 1 lb sq ft |
Soil
pH 6.0 (6.5-6.8) 7.4
Cauliflower must have rapid and uninterrupted growth if it is to perform well and for this it needs fertile soil. It isn’t particular as to what type of soil it grows in, so long as it is fertile and moisture retentive, with lots of organic matter. It doesn’t mind a fairly alkaline soil and this discourages clubroot, a serious pest of Brassicas in some areas. It doesn’t like saline soil and is sensitive to a deficiency of micronutrients, especially molybdenum and boron.
Soil Preparation: Cauliflower likes nitrogen and potassium, Prepare the soil by digging deeply and incorporating 2˝ of compost or aged manure. If you are organized you could add fresh manure the previous fall. It also does well if planted 2 weeks after incorporating a winter cover crop.
If the soil isn’t very fertile, add colloidal phosphate (for phosphorus), wood ashes (for potassium) and kelp meal (to supply trace elements). Or put a handful of complete organic fertilizer in each planting hole.
More than most Brassicas, cauliflower doesn’t like acid soils, as they can encourage clubroot and make boron less available. Add lime if necessary, preferably dolomitic lime, as this supplies useful magnesium as well as calcium.
Planning
Where: Cauliflower needs quite a lot of space for the amount it produces, so it isn’t a very good crop for small gardens. It also needs at least 6 hours of sun daily. Any less than this will result in smaller heads, slower maturation and possibly leggy plants.
Crop rotation: Don’t plant where another Brassica has been grown in the previous 3 years.
When: Cauliflower needs quite a long period (2 months or more) of cool weather to mature (it heads up best at 60 – 70˚F). At the same time it is more sensitive to cold than most Brassicas and small plants can be injured by moderate frost.) This limits where and when it can be grown.
Cauliflower does well in the Pacific northwest as a spring-sown crop, but in most areas spring is too short. In mild winter areas it does well as a fall / winter crop, but isn’t hardy enough to survive colder winters. In most places it does best as a fall crop. This is usually easier and results in larger heads.
Spring: Spring cauliflower has to be started early, so the weather will still be fairly cool when it matures. This means that there is some risk that the young plants may be damaged by frost.
Start the seed indoors 8 – 10 weeks before the last frost date and plant out 4 – 5 weeks before the last frost date (the soil should be at least 50˚F and preferably higher). It needs to be planted early, because it needs a long period of cool weather to mature.
If the weather turns cold after planting, you should protect the plants with cloches or cold frames until it warms up.
Summer: In mild climates, cauliflower can be planted in spring, to mature as a summer crop.
Fall: Fall cauliflowers tends to do better than a spring crop because they are maturing in cooler weather and there are fewer pests around.
Start the seeds for a fall crop (indoors or out) 12 -16 weeks before the average first fall frost date. Plant out transplants 8 weeks before the first fall frost date.
Winter: Overwintering cauliflower is planted out in early September and matures the following spring. It is important to use a hardy variety that is appropriate for the time of year.
Succession sow: It’s not a bad idea to sow cauliflower several times (each a week apart), as this increases the odds of at least some working out well.
Planting
Transplants: If you want to grow cauliflower as a spring crop this usually means starting your transplants indoors (ideally at 70˚F). A fall crop may be started indoors, in an outdoor seed bed, or it may be direct sown.
Starting inside: Cauliflower doesn’t really like having its root disturbed, but will tolerate it while small (if done carefully). The seeds are often sown in flats, 1˝ apart and ¼˝ deep. When they have two sets of leaves they are pricked out to 2˝ apart.
It can also be sown in cell packs or soil blocks (plant 2 seeds to a cell and later thin to the best one) to minimize root disturbance.
The transplants are ready to go out when they are still fairly small, but have 4 – 5 true leaves. Bigger transplants are prone to bolting, especially in spring as they vernalize easily.
Hardening off: It is important the seedlings are hardened off before they go outside (failure to do so can result in shocked plants that don’t grow well). Start by putting the plants outside for 2 hours on the first day, then 4 hours on the second day. Add 2 hours every day for a week and then plant out.
A simpler alternative is to put them in a cold frame, which is opened for longer periods each day and closed at night.
Setting out: Cauliflower is transplanted up to the first true leaves. Water right after planting and every day thereafter until it looks good. You might need to put on cutworm collars or cabbage root maggot disks, provide shade if it’s very sunny and protect it from late frosts. It is vital that growth is uninterrupted by transplanting, as this can be enough to make it bolt.
Direct sowing: Cauliflower can also be direct sown and in some cases these have been known to mature faster than transplants. Sow the seeds ¼ – ½˝ deep, with 2 – 3 seeds in each station. Thin to the best one when they are up and growing. This is most practical in climates that provide that ideal long cool growing season, or for use as a fall crop. Of course the drawback with direct sowing is that they take up space for a long time (maybe interplant it into another crop).
Outdoor nursery bed: In summer you can start transplants in an outdoor nursery bed. This is a much more efficient use of space than direct sowing, as the plants don’t take up bed space for the first 4 – 6 weeks of their lives.
Sow the seed about 1˝ apart and when they have all emerged and are growing vigorously, transplant them to stand 3˝ apart.
Spacing: Spacing has an effect upon the final size of the head.
15˝ very good soil
18˝ average soil
24˝ poor soil
Row spacing: Space the plants 15 – 18˝ apart in the rows, with 24 – 36˝ between the rows.
Care
Cauliflower needs more care than other Brassicas. You have to give it everything it needs for fast, uninterrupted growth without any checks, otherwise it may bolt prematurely.
Weeding: The plants don’t compete with weeds very well, so weed regularly while they are small. Take care if using a hoe, as the shallow roots are easily damaged and this can cause bolting too.
Water: Cauliflower needs constant moisture (at least 1˝ per week), so it’s important to keep the soil moist at all times (lack of water can cause – you guessed it – bolting). The most critical watering time is when the head is developing, so don’t let it get water stressed at this time. It is also good to get plenty of moisture retentive organic matter into the soil.
Fertilization: After the plants are established and growing well, give them a foliar feed of compost tea. Feed them again just before they start to head up (or just feed regularly every two weeks). Cauliflower is one of the crops that is most susceptible to boron deficiency (which can be caused by acid soil).
Mulch: This not only keep weeds down, it can also help to keep the soil moist and cool and helps to keep these shallow rooted plants cosy and happy.
Blanching: Many modern varieties of cauliflower are self wrapping (their leaves protect the head), but older types need to be blanched to prevent the curds turning brown from exposure to sunlight (and developing an off flavor). This is done when the head enlarges to about 2 – 3˝ in diameter and starts to become visible. Even the self wrapping types will produce more desirable whiter heads if blanched.
Blanching is done on a warm dry day (so the plant is dry) by tying the top leaves together with twine (or rubber bands or clothes pins) to cover the head (do this loosely to exclude light, but allow for air circulation and so it doesn’t trap water). You could also crack the leaves and tuck them over the head, or cover the head with loose leaves. You could even make a cap of aluminum foil (if you wear one too it may help to stop them bolting prematurely).
Pests: Cauliflower is attacked by the usual Brassica villains, especially root maggots (see Cabbage). If pests are a big problem in your area, you might want to protect the young plants with row covers. Pests are more problematic in the warm weather of spring than in the cooler weather of fall.
Disease: Cauliflower is also attacked by all of the usual Brassica diseases (see Cabbage).
Boron deficiency: Cauliflower is very sensitive to boron deficiency, which shows up as distorted leaf tips that often die back, Liquid kelp or compost tea can help to alleviate this.
Head problems:
Discoloration – Too much water or waiting too long to harvest.
Browning – Too much heat
Buttoning (premature and small heads) – Drought, cold, heat or any kind of stress.
Ricy (separation of curds, which looks like white rice) – May be caused by drought, cold, heat or too much nitrogen.
Leaves in curds – too much heat
Harvesting
When: Generally a planting doesn’t mature very uniformly, so you need to check each plant individually.
The optimal time to harvest cauliflower is when the head has reached full size, but while it’s still tight and firm. They are good later than this though and may be used until the flower clusters start to turn yellowish (rather than white) and start to separate (they are said to get ricy).
In warm weather the plants don’t stay in optimal condition for very long, in which case it’s better to start harvesting your first heads a little too early (this also helps to stagger the harvest season).
How: Cut off the entire head with a knife. If you aren’t going to use it immediately, leave some leaves on to protect it in handling (the head bruises and discolors easily).
Storage: Cauliflower will stay in good condition for several weeks if stored in the refrigerator (make sure it doesn’t contain any insects or caterpillars). The curds also freeze very well.
Seed saving: The process is much the same as for broccoli (see Broccoli). Cauliflower will cross with cabbage, kale and any other Brassicas. This could have interesting results, but it’s probably not what you want. Take seed from six or more of the best, slow bolting plants.
Be aware that the curds of cauliflower are not flower buds like those of broccoli, but mostly only fleshy receptacles that won’t develop into flowers. In fact flower development in cauliflower can be very erratic.
Unusual growing ideas
Mini-cauliflowers: This is a relatively new way to grow cauliflowers and results in miniature heads 2 – 3˝ in diameter (ideal for one serving). It can be a very productive way to grow cauliflower.
Use a fast maturing summer variety for this method. Direct sow 2 seeds at each station, spacing them 6˝ each way. When these are all up, thin to the strongest plant and care for them as usual. The closely spaced plants compete with each other and tend to keep each other all roughly the same size.
Varieties
In North America the choice of varieties has traditionally been quite limited, but this situation is slowly changing and some fine European and American varieties are now available. This is good because choosing the right variety can be a big factor in your success. You will probably need to experiment to find out what works best for you and at what time of the year.
Cauliflower is another crop where F1 hybrids are taking over. Some of these varieties are of very high quality and are worth trying. There are also some new varieties with spectacular orange, purple and green colored curds, but they are expensive.
Cauliflower can be divided into early, fall and winter varieties, according to their hardiness.
Early: These have a short growing season and can do well in summer (in cool areas) or fall. They are more heat tolerant too.
Snow Crown F1- 50 – 60 days
Early snowball – 65 days
Fall: These are bred for fall harvest and aren’t very heat tolerant.
Fremont F1– 65 days.
Winter: These are the easiest cauliflowers to grow, because they are very hardy and tolerate cold weather. They are planted out in early fall and form large heads in late winter and early spring. The Walcheren types are among the best known.
All the Year Round – 70 days
Purple: These resemble a cross between broccoli and cauliflower. They are somewhat easier to grow than cauliflower because they don’t need blanching.
Romanesco – This unusual Italian Heirloom is becoming increasingly popular. It has a very attractive spiral pattern on its pale green head. It is quite variable, with about 20% of plants not heading up and the rest doing so over a long period.
Colored types: Orange, purple, yellow or green cauliflowers are an interesting recent innovation. Unfortunately most of this color disappears in cooking and they have to be grown from very expensive seed ($3.95 for 15 seeds.)
Cheddar F1 – Orange
Panther F1 – Green
Graffiti F1 – Deep purple
Purple Head F1 – Purple (85 days)