


Micro-greens
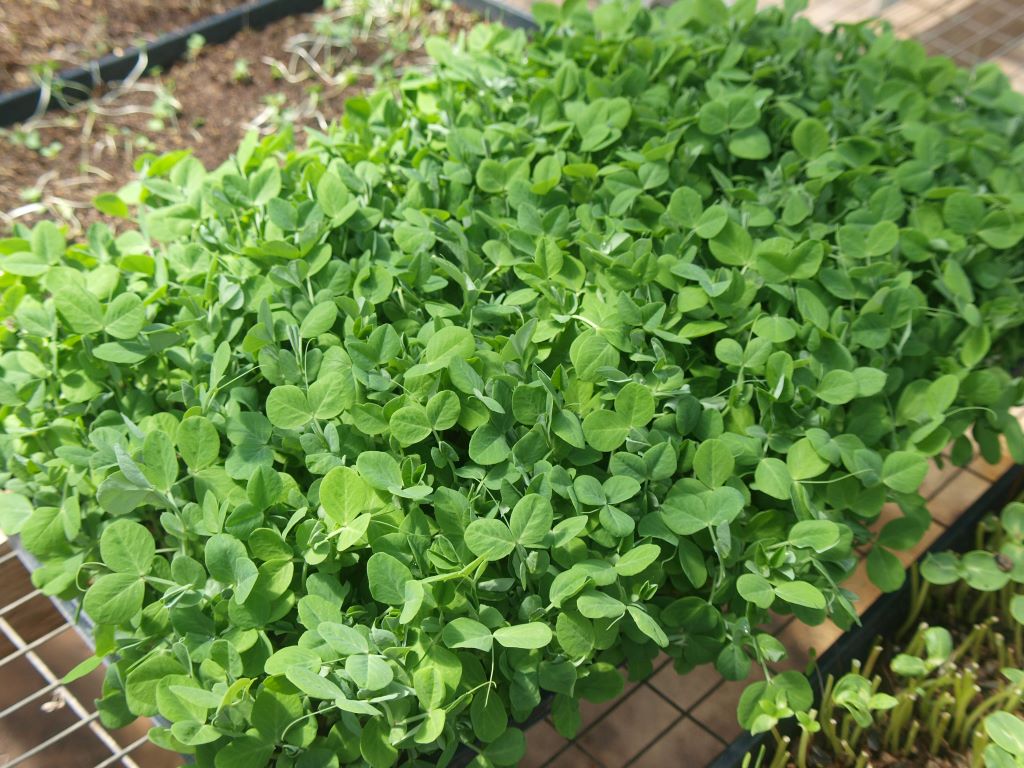
Introduction: Micro-greens are the seedlings of a variety of salad plants, gathered after they have formed their first true leaves. They bridge the gap between seed sprouts from the kitchen and salad mix from the garden. Apparently they are no longer quite the hip and trendy thing they were a few years back (if you care), but they are still the same versatile and nutritious fresh food they always were. They are easily grown at home and give you a way to grow nutritious salad materials year round.
There is a precedent for micro-greens. In Britain inexpensive trays of “mustard and cress” grown on fiber pads have long been available in markets, to be clipped as needed for salads and sandwiches. In North America people have been growing trays of buckwheat “lettuce” and sunflower “lettuce” for years. These are both used in the same way, and cut when they produce their first true leaves (or even before). The idea of micro-greens takes this a step further and introduces a wide variety of new plants to provide a unique taste treat rather than extra nutrition (though they have that too).
Growing micro-greens gives you a practical way to make use of some of the excess seed that inevitably accumulates when you start saving your own seed (in fact it is a good reason to start saving seed).
Crop use: Growing microgreens is a practical way to grow flavoring and salad materials year round, and can be very useful if you live in a very cold or very warm climate.
Ease of growing: Growing micro-greens is closer to sprouting than it is to vegetable gardening. They are grown for such a short time and in such a controlled environment that there is little chance of things going wrong (though inevitably mishaps can happen occasionally).
Nutritional content: The nutritious young plants are rich in vitamins A, B’s, C, E and K as well as calcium, iron, magnesium, phosphorus and potassium. They also contain various antioxidants and beneficial phytochemicals.
Planning
Days to harvest: This can be anywhere from 3 – 21 days, depending upon the crop and growing conditions.
When: One of the nice things about micro-greens is that they can be grown inside or outside. This means you can have cheap fresh salad materials at any time of the year, no matter how cold or hot it gets outside.
In winter you can grow them in the house or greenhouse. In spring and fall you can grow them in the greenhouse or cold frame. In summer you can grow them in a shady part of the garden, or back in the house (for growing cool weather crops).
Containers: Almost any type of container can be used to grow microgreens. The kind you choose will depend on what you want. If you want to grow as much as possible as quickly as possible you might use the same wooden flats used for starting transplants, or large plastic trays. If you want something cute to put on your kitchen window you might use decorative ceramic or terracotta pots (if they don’t have drainage holes, you can put some gravel in the bottom for drainage). If you live in an apartment you might use the plastic containers that fruit or salad mix comes in (just put some drainage holes in the bottom).
Soil mix: The mix is more important for anchoring the plants and supplying water than it is as a source of nutrients, because they are in the ground for such a short time. It is best not to use garden soil to fill the containers, as it contains weed seeds and living soil organisms.
You can buy a potting soil mix, but it is relatively expensive and you can easily make it yourself (a simple mix would be 1/3 sand, 1/3 peat moss and 1/3 compost). You don’t need to completely fill the container either, you only need to put an inch or two in the bottom.
Seeds: Use only untreated seed as you don’t want anything with fungicide on it. You will need quite a lot of seeds to grow microgreens and this can get expensive if you are using individual seed packets (though you can use those left over from planting the garden). You can save money by searching out bulk seed or seed sold for sprouting.
The best place to get seeds for microgreens is your own garden, by saving them yourself. Seed saving is a perfect complement to growing microgreens because it gives you a way to use up a lot of those surplus seeds that often just sit around until they die.
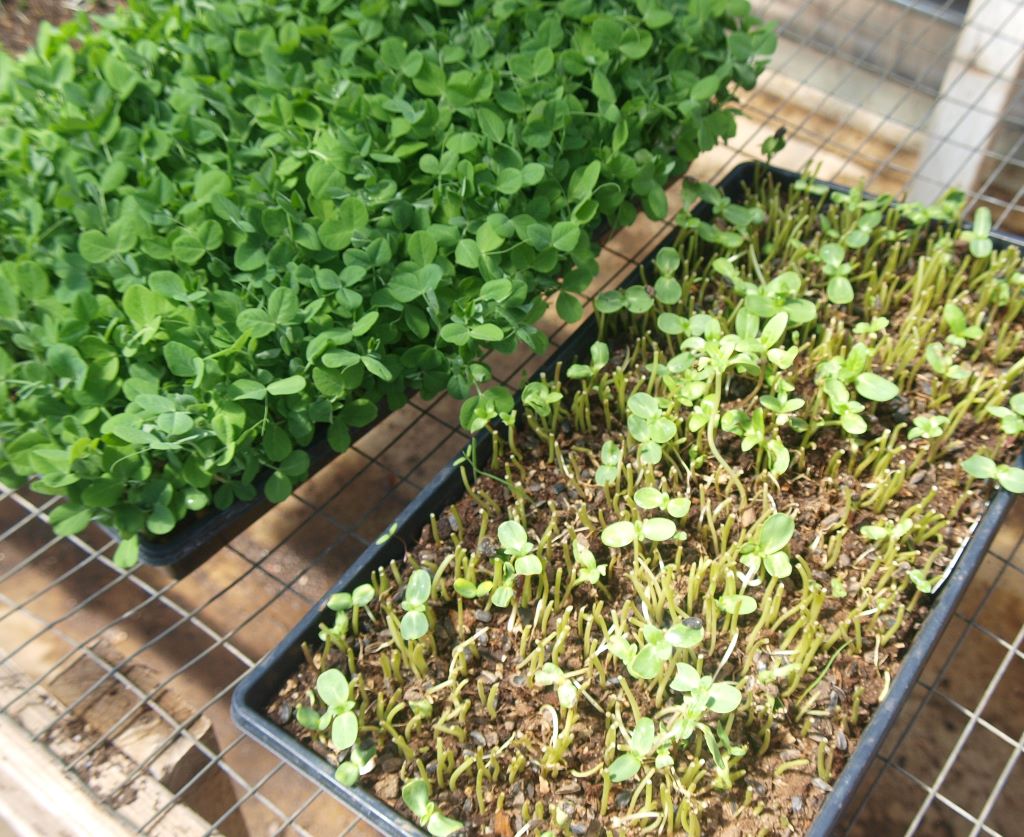
You can use a mix of seed for microgreens, but you may have a problem if they germinate and grow at different rates. An extreme example would be if you mixed heat loving basil with fast growing cold tolerant bok choy. You would have a crop of bok choy before the basil has even germinated! If you plant more than one kind of seed in a container it is important that they grow at roughly the same rate, so you can harvest at the same time.
It is usually simpler to plant each type of seed in a separate container, as each one can then grow at its own rate. You then just cut what you want and mix it together.
Planning
Planting: The seeds are scattered on the moist growing medium, keeping them very close together (¼˝ apart maximum). Don’t cover them with soil as it will make for soil covered microgreens. Keep the containers in a warm place (70°F is optimal for most salad crops). The container should be misted as necessary to keep the growing plants well supplied with moisture.
Succession sowing: Micro-greens are a very short term crop and the frequency of succession sowing will depend upon how much you plant and how much you use. After a couple of sowings you will work this out for yourself.
Care
Warmth: Micro-greens don’t need much attention, so long as it is warm enough for germination and growth. The ideal temperature is around 70°F in the day (and slightly lower at night), though it varies with each crop. Many grow faster if it is warmer than this.
You can achieve a warm temperature in a cold house by putting them near a heat source, or using a seed tray heating pad. Of course in cooler temperatures it makes sense to concentrate on cold tolerant crops such as Brassicas and lettuce.
If the temperature gets too hot for the germination of lettuce you can pre-germinate it in the fridge. See Lettuce for how to do this.
Watering: The soil in the containers needs to be kept moist at all times, so the seeds don’t dry out (which they can do easily when they are sitting exposed on the surface). A spray bottle works well for watering as it gently mists the plants without splashing the seeds around too much.
Professional growers often water from below by immersing the containers in a tray of water for a minute or so to thoroughly moisten the soil. This keeps the tops drier, cleaner and less prone to rot. They may also put lids on their containers to keep the plants moist.
Light: The seeds don’t need light until they have germinated, so you can start them anywhere. Once they have germinated they need plenty of light for good growth. The best source is the sun, so a greenhouse is probably the best place to grow them (unless its warm enough to have them outside). A sunny windowsill is also good (and more convenient) but usually limited in size. I don’t really like electric lights, but they are a necessary evil if you have no better light source.
Of course the seedlings don’t last for very long anyway, so it doesn’t matter if they don’t get full sunlight all of the time Even if they are somewhat light deprived you can still eat them.
Harvesting
When: The best time to harvest is about 5 minutes before sitting down to eat. Commercial growers harvest in the early morning when the plants are cool.
The plants are usually cut within 2 – 3 weeks of planting, when they have their first true leaves. However you can let them get somewhat bigger if you want. This will make the harvest bigger, though the leaves may be less tender and mild (though I’m sure your teeth can still handle them).
How: Before harvesting you should gently brush off any seed husks that remain attached to the leaves.
The best way to harvest is to cut them with scissors just above the soil level, so you don’t disturb the remaining plants (try not to get them dirty as you want to minimize washing). If necessary rinse them carefully and use straight away. Unfortunately, unlike mesclun, they won’t regrow after cutting, they are a one time deal.
Unusual growing ideas
Outdoor growing: In warm weather the best place to put your microgreen containers is outside in the shade.
In theory it could be possible to grow microgreens in the ground in a growing bed, but they are so small and close to the ground that it would be hard to keep them clean enough for use (misting instead of sprinkling would help a lot.) You could also try building wooden frames for growing them slightly off the ground.

Varieties
The best seeds for growing microgreens are those that grow rapidly and taste good, which includes:
Beet and chard: Prized for their color more than their flavor.
Brassica family: There are a lot of these and they tend to be fast growing and pungent in flavor. All of them are good, but arugala, bok choy, garden cress, mizuna, mustards, radish and turnip are perhaps the fastest (you can be eating them in a week).
Lettuce: The staple of micro-greens and mesclun mixes, they are tasty and sometimes spectacularly beautiful too.
Basil: Slower than the others (and needs more heat), but has a wonderful flavor.
Celery: This is fairly slow, but adds a great flavor.
Fennel: Delicious anise flavor.
Sunflower: Fast and tasty (needs warmth for fast growth).
Other useful plants
These are also worth experimenting with as micro-greens:
Amaranth
Chervil
Chia
Chicory
Cilantro
Clover
Cornsalad
Dill
Escarole
Fenugreek (one of my favorites)
Flax
Onion
Plantain
Purslane
Quinoa
Radicchio
Sorrel
Spinach
Water Pepper