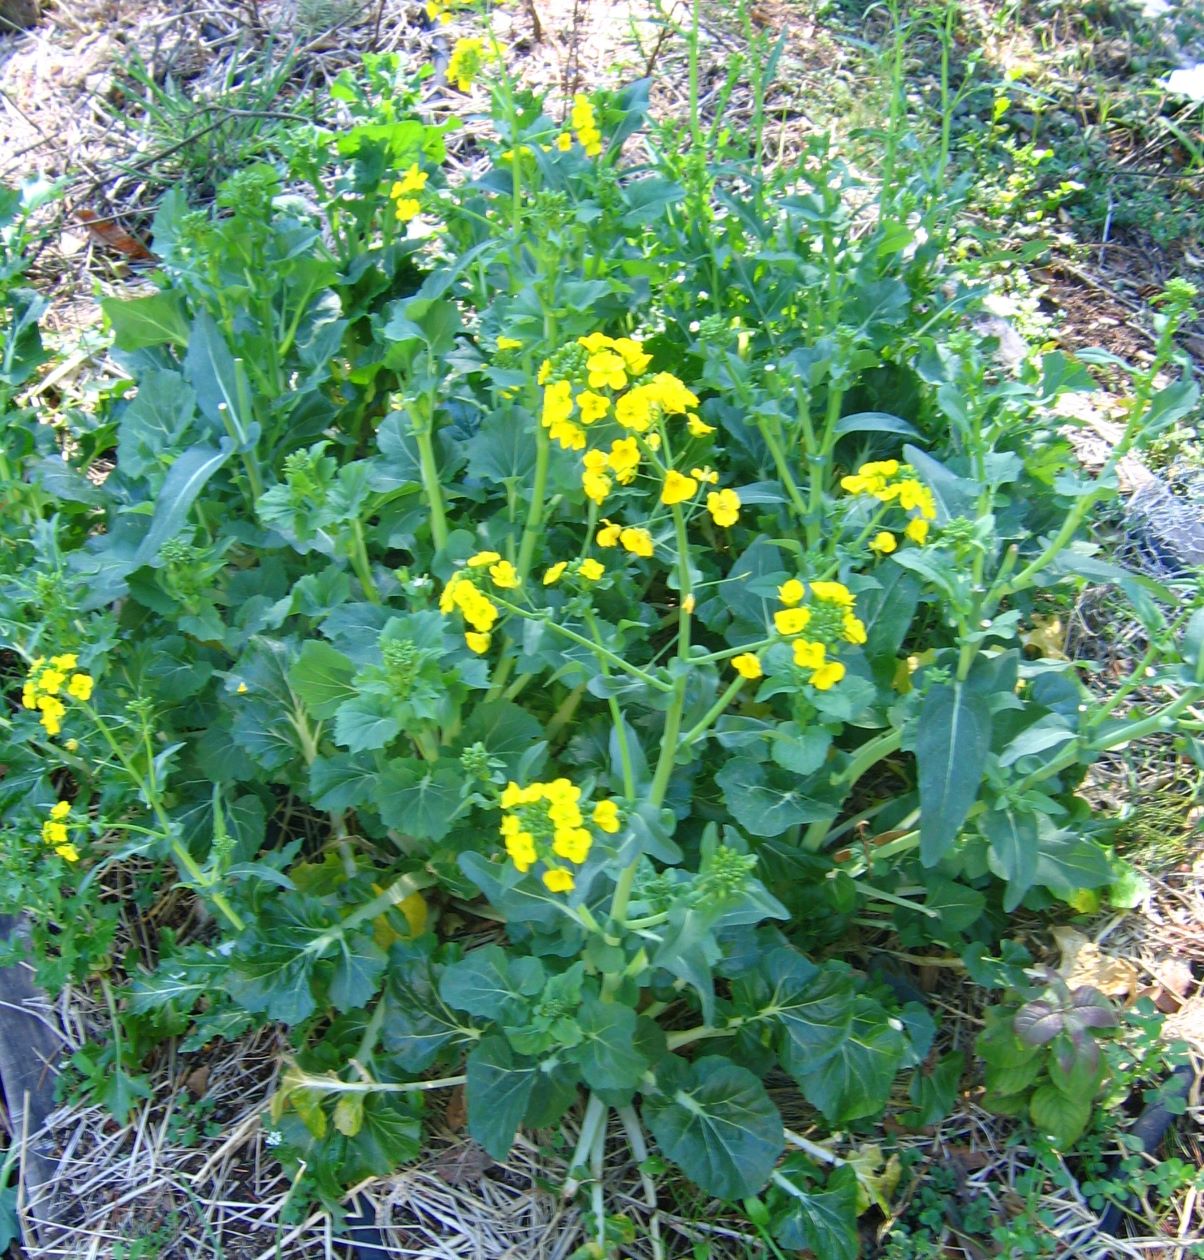
Hugelkultur beds
A hugelkultur (hill culture) bed is basically a cross between a growing bed and a woody compost pile. The high volume of organic matter at the core helps it to retain moisture, while slowly releasing nutrients and adding long term fertility.
These beds are quite labor intensive to build and seem to be a favorite project for permaculture classes for this reason (lots of hands to do the work and they feel like they have accomplished something). This is not so quick or easy if you are doing it yourself, as they require quite a lot of heavy lifting, in fact some people use backhoes to create them (I’m not quite sure what to think of that).
Though the beds take quite a bit of work to build, once established they are quite low maintenance. The wood in the pile will slowly decompose over several years, during which time it shrinks considerably and turns into rich soil.
In my opinion these beds make a lot of sense if you have a lot of woody debris in your garden, as they allow you to use it to enhance your soil, rather than having to work to get rid of it. These beds make a lot less sense if you don’t have any wood on site and have to work to bring it in from elsewhere. Making them simply because they sound like a good permaculture project doesn’t make any sense at all.
Hugelkultur beds can be useful on shallow soils, as they create a mound of deep rich soil. They can also be useful on sloping sites, as you can dig across a slope and create a hugelkultur berm, which will intercept rainfall runoff (these are usually sloped slightly downhill, so a large volume of water doesn’t back up behind them). Really tall beds will create a warm sheltered microclimate (make it any shape you desire). The orientation of your bed to the prevailing wind will affect the type of microclimates created.
These beds were developed for use in cool humid climates, where good drainage and rapid warming of the soil are helpful. They don’t work very well in hot dry climates, such as most of California because they dry out too quickly and need constant watering.
Wood type
Any wood can be used to improve the soil, so long as it isn’t highly rot resistant, painted, pressure treated or stained. Generally you will use whatever wood you have available, whether logs, poles, brushwood or fruit tree prunings. Best of all is old, half rotten wood that isn’t good enough to use for anything else (worst of all are the rot resistant woods, such as redwood, cedar or black locust – these can take years to break down, so don’t use them).
If you have to cut wood, then the less durable types are most useful (alder poplar, willow, birch). It will take some time to break down though and will require lots of nitrogen (fresh wood is very high in carbon and can temporarily rob the soil of nitrogen – soil organisms that break it down need nitrogen to function).
Size of bed
The bed can be any size you wish, but they are commonly as high in the middle as they are wide, which tends to limit their width to about 6 ft (though you can make them wider and lower if you wish). A common size is 36” wide x 36” tall, but some may be 72” wide X 72” high (obviously this will take a lot of material to build). As they decompose they will shrink by about 25% in height. Tall beds work well in humid climates with lots of rainfall, but not so well in dry ones, where they may dry out too rapidly. In such situations flatter beds, as described previously, work better.
Building the bed
Strip off any vegetation where the bed will go and lay it to one side (to reuse later).
Dig down 4 – 12” deep, to create a trench the size of the bed you wish to create and put soil to one side. You don’t have to do this step, but if you don’t, you will have to bring in some soil from elsewhere to cover the bed. I think it makes more sense to just use the soil that is already there. You can dig down even deeper than this, if you don’t want the bed to be so high, but this will give you less planting area on the bed.
Fill the trench with a layer of wood and build it up to the shape of the bed you desire. If you didn’t excavate then simply put the wood on the soil surface. Put the biggest pieces of wood in the bottom and smaller stuff on top of it. Compact it down and fill in any large voids as much as you can (it will shrink a lot anyway, but you want to minimize this). Then water well to thoroughly saturate the wood.
Cover the wood with a 2” layer of manure or other high nitrogen material (this supplies nitrogen and other nutrients) and any additional amendments or fertilizers.
Replace the layer of vegetation upside down, followed by a 2” layer (minimum) of soil. The idea is cover all of the wood and create a smooth, mounded bed.
Cover with a layer of straw mulch, at least 2” thick.
Planting
The soil in the bed will be quite rough and woody during its first year or two, so you may want to start with large vining crops, such as winter squash or cucumber. Strawberries also work well. If you don’t need the bed immediately you might plant a fast growing green manure crop.
During the first year some of the nitrogen in the bed will go toward decomposing the wood, so you may have to provide additional nitrogen to your plants in the form of a foliar feed.


